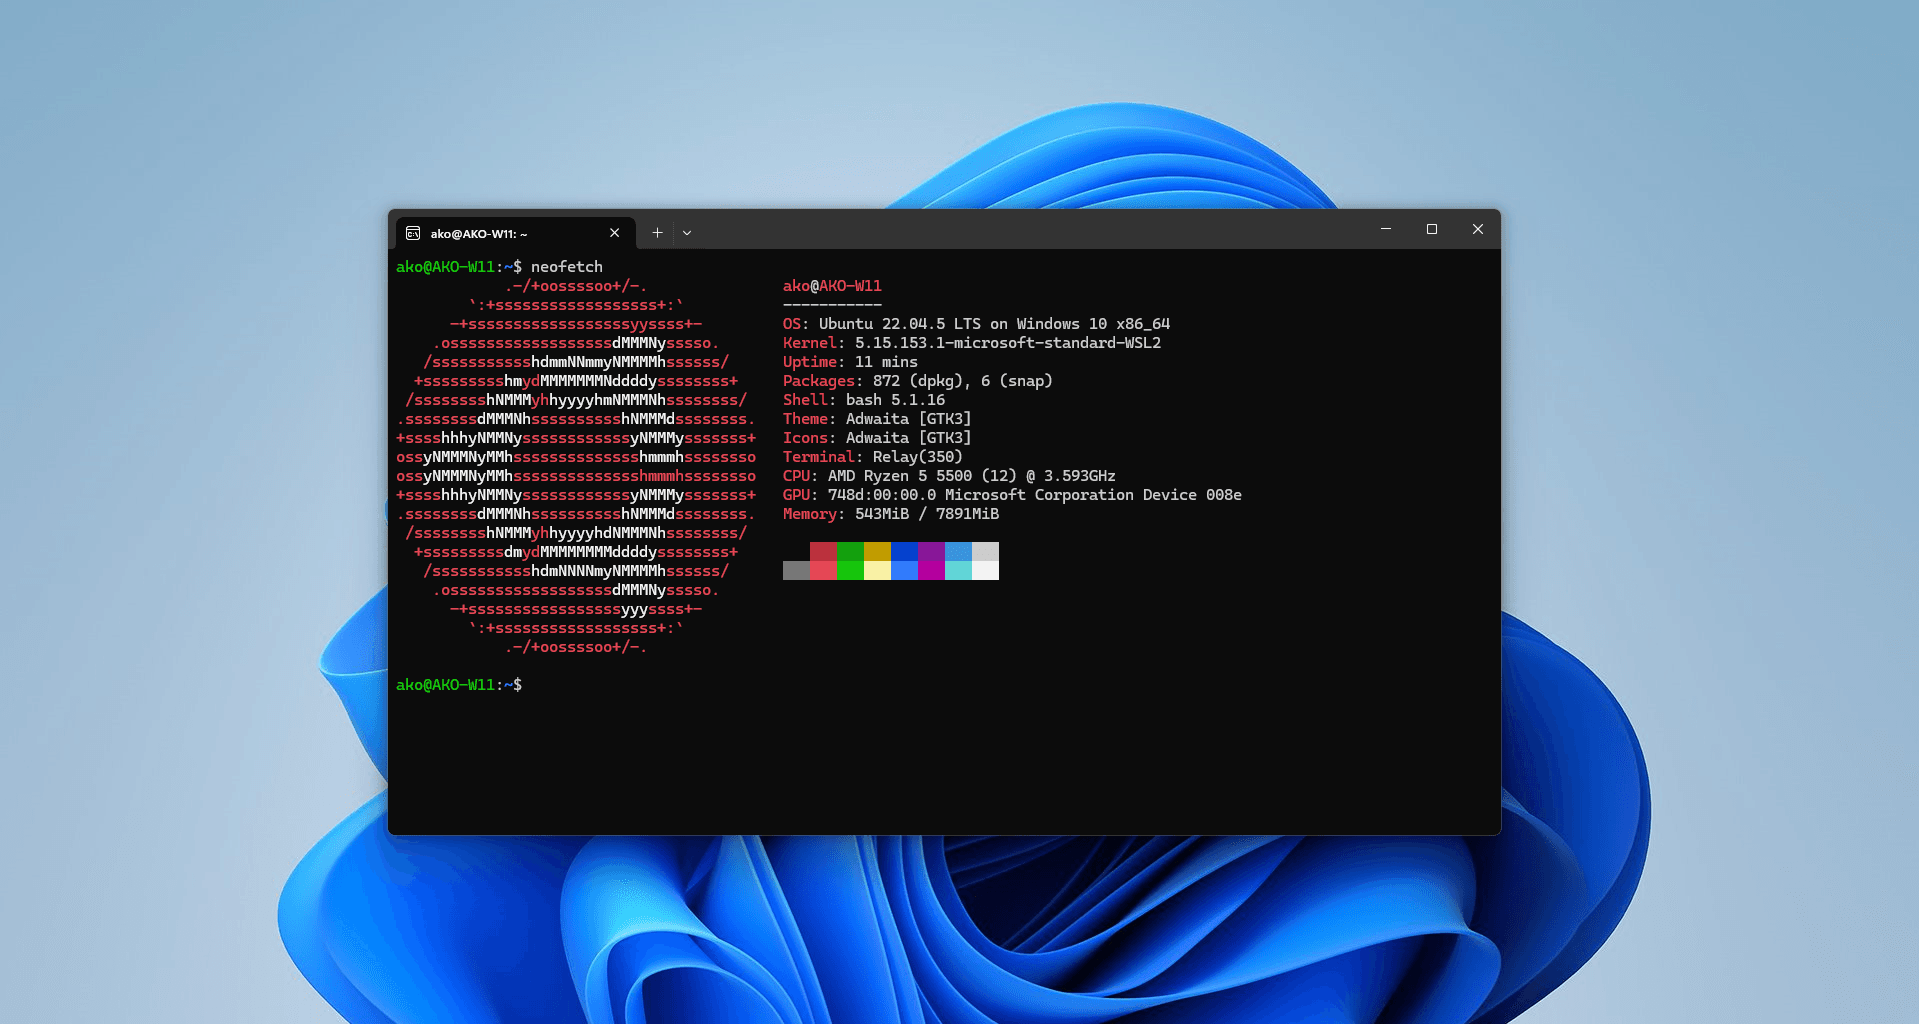
Setting Up Windows Subsystem for Linux

Tired of the hassle of virtual machines and dual-booting?
What if you could enjoy the full power of a Linux environment directly on your Windows machine, without any compromises? Windows Subsystem for Linux (WSL) lets you do just that—seamlessly combining the flexibility of Linux with the convenience of Windows. Whether you’re juggling between Windows-only applications or just love the Linux workflow, this setup can revolutionize your development process.
In this guide, we’ll walk you through installing WSL on Windows 11 and integrating it with Visual Studio Code, giving you a streamlined environment to boost your productivity. Let’s dive in and set up your development playground!
Why Use WSL?
Gone are the days of choosing between Linux and Windows. WSL empowers developers by:
Running Linux command-line tools directly on Windows.
Offering near-native performance without virtual machine overhead.
Seamlessly integrating with Windows tools like Visual Studio Code.
Step 1: Install WSL on Windows 11
Getting started with WSL is quick and easy. Follow these steps to install WSL and get your Linux environment up and running:
Open PowerShell as Administrator.
Run the installation command:
wsl --installRestart your computer if prompted.
This command installs the default Linux distribution, usually Ubuntu. If you prefer another distribution, we’ll show you how to switch in the next step.
Step 2: Choose Your Linux Distribution
To explore other available distributions, run:
wsl --list --online
Install a new distribution by running:
wsl --install -d <Distro>
Replace
<Distro>DebianOpenSUSEStep 3: Prepare Your Linux Environment
After installation, launch your Linux environment by typing
wslTip: If you start your environment from PowerShell, you may end up in a Windows directory. Use
cdRun these commands to update your environment:
sudo apt update && sudo apt upgrade
sudo apt install build-essential git curl
Set up Git for version control:
git config --global user.name "Your Name"
git config --global user.email "[email protected]"
Web developers may also want to install the latest version of Node.js:
sudo apt install npm
sudo npm install -g n
sudo n stable
Step 4: Integrate WSL with Visual Studio Code
Now let’s integrate WSL with VS Code to streamline your development workflow.
Install Visual Studio Code on your Windows machine.
Open VS Code and install the WSL extension from the Extensions Marketplace.
Inside your Linux environment, create a project folder:
mkdir ~/projects
Clone a repository or create a new project:
git clone https://github.com/example-user/example-repository
# or
mkdir ~/projects/new-project
Open the project in VS Code from the Linux terminal:
code ~/projects/example-repository
# or
code ~/projects/new-project
When you run
codeFinal Thoughts: Supercharge Your Workflow
Congratulations! You now have a powerful development environment with WSL and Visual Studio Code working hand-in-hand. From here, you can customize your setup with additional CLI tools or dive straight into coding. Some developers even use rtorrent to download torrents from the command line, showcasing how versatile WSL can be.
With WSL, you’ve unlocked a new level of productivity—combining the best features of Windows and Linux into one seamless experience. The only limit now is your creativity!
Ready to explore further? Check out additional WSL configurations or jump into your first project and experience the power of this setup for yourself.

